
官方简介:
腾讯蓝鲸智云,简称蓝鲸,是腾讯互动娱乐事业群(Interactive Entertainment Group,简称 IEG)自研自用的一套用于构建企业
研发运营一体化体系的 PaaS 开发框架,
提供了 aPaaS(DevOps 流水线、运行环境托管、前后台框架)和 iPaaS(持续集成、CMDB、作业平台、容器管理、数据平台、AI 等原子平台)等模块,帮助企业技术人员快速构建基础运营 PaaS。
我的实验环境:
– 虚拟主机配置:
CentOS Linux release 7.7.1908 (Core)
IP Address:192.168.1.6
Memory Size:16G
CPUs:4
- 下载CentOS 7的iso镜像文件:
http://mirrors.huaweicloud.com/centos/7.7.1908/isos/x86_64/ -
下载EPEL的镜像文件:
https://bk.tencent.com/docs/document/5.1/20/635?r=1
目前最新只有7.5,所以这里选择下载7.5版本的 bk_offline_repo-7.5.1804.iso,一般情况下问题不大。 -
下载蓝鲸完整安装包并上传到虚拟主机的/data目录下:
https://bk.tencent.com/download/
5.1.26 稳定版 2020-01-04 2.3G MD5: 6d87399219fa2bd10cc84190084ccd79
scp /public/ISO/software/bkce_src-5.1.26.tar.gz root@192.168.1.6:/data/ -
配置本地YUM 源要求包含 EPEL
在所有蓝鲸服务器上配置好 YUM 源,要求该 YUM 源包含 EPEL,因为我这里测试选择单机部署,所以只需配置这一台机器。
此外,因为要求是离线部署,所以默认机器不能连外网,需要配置本地 YUM 源。
mkdir -p /media/cdrom
mount -o loop -t iso9660 /data/CentOS-7-x86_64-DVD-1908.iso /media/cdrom

mkdir -p /media/cdrom-epel
mount -o loop -t iso9660 /data/bk_offline_repo-7.5.1804.iso /media/cdrom-epel
新建repo配置文件:vi /etc/yum.repos.d/CentOS.repo,编辑内容如下:
[CentOS7]
name=CentOS7
baseurl=file:///media/cdrom/
enabled=1
gpgcheck=0

[CentOS7-epel]
name=CentOS7-epel
baseurl=file:///media/cdrom-epel/
enabled=1
gpgcheck=0
可以创建一个bak目录,将其他的repo配置文件都统一mv备份到bak目录中。
配置好 YUM 源,包含 EPEL 仓库(可以通过 yum info nginx 测试下)。
--如果没有包含EPEL仓库,就会报错:
[root@bkcmdb1 install]# yum info nginx
Loaded plugins: fastestmirror
Loading mirror speeds from cached hostfile
Error: No matching Packages to list

--如果包含了EPEL仓库,就会正常显示信息:
[root@bkcmdb1 data]# yum info nginx
Loaded plugins: fastestmirror
Loading mirror speeds from cached hostfile
Available Packages
Name        : nginx
Arch        : x86_64
Epoch       : 1
Version     : 1.12.2
Release     : 2.el7
Size        : 530 k
Repo        : CentOS7-epel
Summary     : A high performance web server and reverse proxy server
URL         : http://nginx.org/
License     : BSD
Description : Nginx is a web server and a reverse proxy server for HTTP, SMTP, POP3 and
            : IMAP protocols, with a strong focus on high concurrency, performance and low
            : memory usage.
- 下载证书:
输入GSE/LICENSE所在服务器的MAC地址,多个MAC地址使用换行或英文分号分隔
https://bk.tencent.com/download_ssl/
下载的证书在后面正式安装之前需要导入。
正文分为3部分:
– 1.系统相关设置
– 2.其他配置确认并安装
– 3.遇到的问题和解决方案
1.系统相关设置
环境准备已经安装完原生 CentOS 系统并配置了符合要求的本地YUM源。现在需要对初始系统做一些配置,保证后续安装过程的顺畅和蓝鲸平台的运行。
这一部分基本官方文档写的比较清楚,按其一步步检查设置即可。
1.1 关闭 SELinux
# 检查 SELinux 的状态,如果它已经禁用,可以跳过后面的命令
sestatus

# 通过命令临时禁用 SELinux
setenforce 0

# 或者修改配置文件
sed -i 's/^SELINUX=enforcing/SELINUX=disabled/g' /etc/selinux/config
1.2 关闭默认防火墙(firewalld)
# 检查默认防火墙状态,如果返回 not running,可以跳过后面的命令
firewall-cmd --state

systemctl stop firewalld    # 停止 firewalld
systemctl disable firewalld # 禁用 firewall 开机启动
1.3 安装 rsync 命令
# 检查是否有 rsync 命令,如果有返回 rsync 路径,可以跳过后面的命令
which rsync

# 安装 rsync
yum -y install rsync
1.4 停止并禁用 NetWorkManager
# 检查 NetworkManager 运行状态
systemctl status NetworkManager

# 关闭并禁用 NetworkManager
systemctl stop NetworkManager
systemctl disable NetworkManager
1.5 调整最大文件打开数
# 检查当前 root 账号下的 max open files 值
ulimit -n

# 备份之前的配置文件
cp /etc/security/limits.conf /etc/security/limits.conf.bak

# 增加配置信息
cat << EOF >> /etc/security/limits.conf
root soft nofile 102400
root hard nofile 102400
EOF
修改后,重新使用 root 登录检查是否生效。
1.6 确认服务器时间同步
# 查看和ntp server的时间差异(需要外网访问,如果内网有ntpd服务器,自行替换域名为该服务的地址)
ntpdate -d cn.pool.ntp.org
如果输出的最后一行 offset 大于 1s 建议校时。

# 和 ntp 服务器同步时间
ntpdate cn.pool.ntp.org
更可靠的方式包括通过运行 ntpd 或者 chrony 等服务在后台保持时间同步。 具体请参考官方文档 使用 ntpd 配置 NTP 或 使用 chrony 配置 NTP。
因为我这里是单机部署的实验,只需要确认时间正确即可。生产环境需严格设置时间同步。
1.7 检查是否存在全局 HTTP 代理
蓝鲸服务器之间会有的 HTTP 请求,如果存在 HTTP 代理,且未能正确代理这些请求,会发生不可预见的错误。
# 检查 http_proxy https_proxy 变量是否设置,若为空可以跳过后面的操作。
echo "$http_proxy" "$https_proxy"
对于本机配置 http_proxy 变量的方式,请依次查找文件 /etc/profile、/etc/bashrc、$HOME/.bashrc 等是否有设置。 或者咨询网络管理员/IT 部门协助处理。
1.8 解压安装软件
在这些主机中,选择任意一台机器作为蓝鲸的运维中控机。之后的安装命令执行,如果没有特别说明,均在这台中控机上执行。
将下载的蓝鲸社区版完整包上传到中控机,并解压到 同级 目录下。以解压到 /data 目录为例:
tar xf bkce_src-5.1.26.tar.gz  -C /data
解压之后,得到两个目录:src,install

src:存放蓝鲸产品软件,以及依赖的开源组件

install:存放安装部署脚本、安装时的参数配置、日常运维脚本等
解压安装包:
[root@localhost data]# tar xf bkce_src-5.1.26.tar.gz -C /data
这里看到主机名还是localhost,选择修改主机名为bkcmdb1(可选项,因为后续安装过程中发现会自动修改主机名)
[root@localhost data]# hostnamectl set-hostname bkcmdb1
[root@localhost data]# vi /etc/hosts
127.0.0.1   localhost localhost.localdomain localhost4 localhost4.localdomain4
::1         localhost localhost.localdomain localhost6 localhost6.localdomain6
192.168.1.6 bkcmdb1

[root@bkcmdb1 ~]# hostname -i
192.168.1.6
[root@bkcmdb1 ~]# hostname
bkcmdb1
1.9 检查resolv.conf是否有修改权限
检查 /etc/resolv.conf 是否被加密无法修改(即便是 root),执行如下命令,检查是否有“i”加密字样:
lsattr /etc/resolv.conf
----i--------e-- /etc/resolv.conf

如果有则执行命令,临时解密处理,执行如下命令:

chattr -i /etc/resolv.conf
需要注意,在 resolv.conf 配置文件的首行,即第一个DNS地址需为 127.0.0.1,如下所示:

nameserver 127.0.0.1
nameserver 192.168.1.100
nameserver 192.168.2.100
备注说明:resolv 配置文件无需人工修改内容,后续安装脚本会自动为主机进行配置 127.0.0.1,因此只需检查是否允许修改即可。关于首行需要 127.0.0.1,这是由于后面蓝鲸内部组件的调用所需,域名通过 consul 解析,会探测服务运行状态,然后返回IP地址, 例如访问 es,那么内部需要解析 es.service.consul 等,若首行不是 127.0.0.1,否则这些域名就通过外网去解析,无法返回正确的响应,导致服务运行异常,或者 SaaS 无法正常打开等情况。
我这里环境检查 /etc/resolv.conf 权限没有问题,其中内容也无需手工修改:
[root@bkcmdb1 ~]# lsattr /etc/resolv.conf
---------------- /etc/resolv.conf

[root@bkcmdb1 ~]# cat /etc/resolv.conf
# Generated by NetworkManager
nameserver 2408:8000:1010:1::8
nameserver 2408:8000:1010:2::8
2.其他配置确认并安装
2.1 安装配置文件install.config
# 文档中提到的install.config配置文件示例:
[root@bkcmdb1 install]# ls -l install.config.*
-rw-r--r--. 1 root root 286 Jan  9 16:11 install.config.3ip.sample
-rw-r--r--. 1 root root 760 Jan  9 16:11 install.config.bcs.sample
-rw-r--r--. 1 root root 396 Jan  9 16:11 install.config.bcs.single.sample
-rw-r--r--. 1 root root 379 Jan  9 16:11 install.config.bizcluster.sample
-rw-r--r--. 1 root root 991 Jan  9 16:11 install.config.new.sample

# 复制并查看内容,发现是3个节点的配置:
[root@bkcmdb1 install]# cp install.config.3ip.sample install.config
[root@bkcmdb1 install]# cat install.config
[bkce-basic]
10.0.0.1 nginx,rabbitmq,kafka(config),zk(config),es,appt,fta,consul,bkdata(databus)
10.0.0.2 mongodb,appo,kafka(config),zk(config),es,mysql,consul,bkdata(dataapi),beanstalk
10.0.0.3 paas,cmdb,job,gse,license,kafka(config),zk(config),es,redis,influxdb,consul,bkdata(monitor)
最终实际测试并结合官方文档其他章节的说明:
配置参数
install.config 这个文件安装脚本会自动生成,无需自行配置。
globals.env 重点关注域名和 GSE 外网 IP 相关的配置,详情参考 环境准备-配置文件 一节。
ports.env 一般不用修改。
最终确认了这个配置文件在单机部署中,并不需要手工配置,会自动生成,自动生成的内容是类似这样:
[root@rbtnode1 install]# cat install.config
192.168.1.6 nginx,rabbitmq,mongodb,cmdb,redis,gse,appo,appt,zk,mysql,paas,job,license,consul,kafka,es,bkdata(databus),bkdata(monitor),bkdata(dataapi),fta,beanstalk,influxdb
2.2 导入证书
- 通过 ifconfig 或者 ip addr 命令获取 install.config 文件中,license 和 gse 模块所在服务器的第一个内网网卡的 MAC 地址。如果分别属于两台服务器,那么两个的 MAC 地址以英文;分隔。
在官网 证书生成页面 根据输入框提示填入 MAC 地址,生成并下载证书。
上传证书到中控机,并解压到 src/cert 目录下。
tar xf ssl_certificates.tar.gz -C /data/src/cert/
前面已经下载了证书文件,现在直接上传并解压到 src/cert 目录下:
$ tar xf ssl_certificates.tar.gz -C /data/src/cert
2.3 执行安装
如果部署全部组件,请执行:
$ cd /data/install
$ ./install_minibk -y
如果按需部署,假设只需要 PaaS,CMDB,JOB 平台,请执行:
$ cd /data/install
$ ./install_minibk
$ ./bk_install paas && ./bk_install cmdb && ./bk_install job
安装过程中遇到失败的情况,请先定位排查解决后,再重新运行失败时的安装指令。
如果安装过程中意外停止,或是在下面提示的界面选择了no,退出了安装:
------------------------- agreements ---------------------------------
    Dear users, welcome to use the Tencent BlueKing Software. Please
access http://bk.tencent.com/info/#laws to read the Tencent BlueKing
Software License and Service Agreement carefully. You have no right to
install or use the Software and related services unless you have read
and accepted all the terms of this Agreement. By downloading, install-
ing, using or logging in the Software, you shall be deemed to have
read and agreed to be bound by the Agreement above. If you have under-
stood the above content, please enter "yes" to continue installation,
otherwise, please enter "no" to abort. Thank you for your understan-
ding and support of the Tencent BlueKing Software.
----------------------------------------------------------------------
yes/no ?
这时候也可以调用安装脚本再次安装,且还可以单独进行安装,从日志中会有类似这样安装选择的提示:
you can use following command to install whole blueking suit in one command
./bk_install paas && ./bk_install app_mgr && ./bk_install cmdb && ./bk_install job && ./bk_install bkdata && ./bk_install fta && ./bk_install saas-o

OR you can install one by one manually:
./bk_install paas
./bk_install app_mgr
./bk_install cmdb
./bk_install job
./bk_install bkdata
./bk_install fta
./bk_install saas-o
整个安装过程还是比较灵活的。
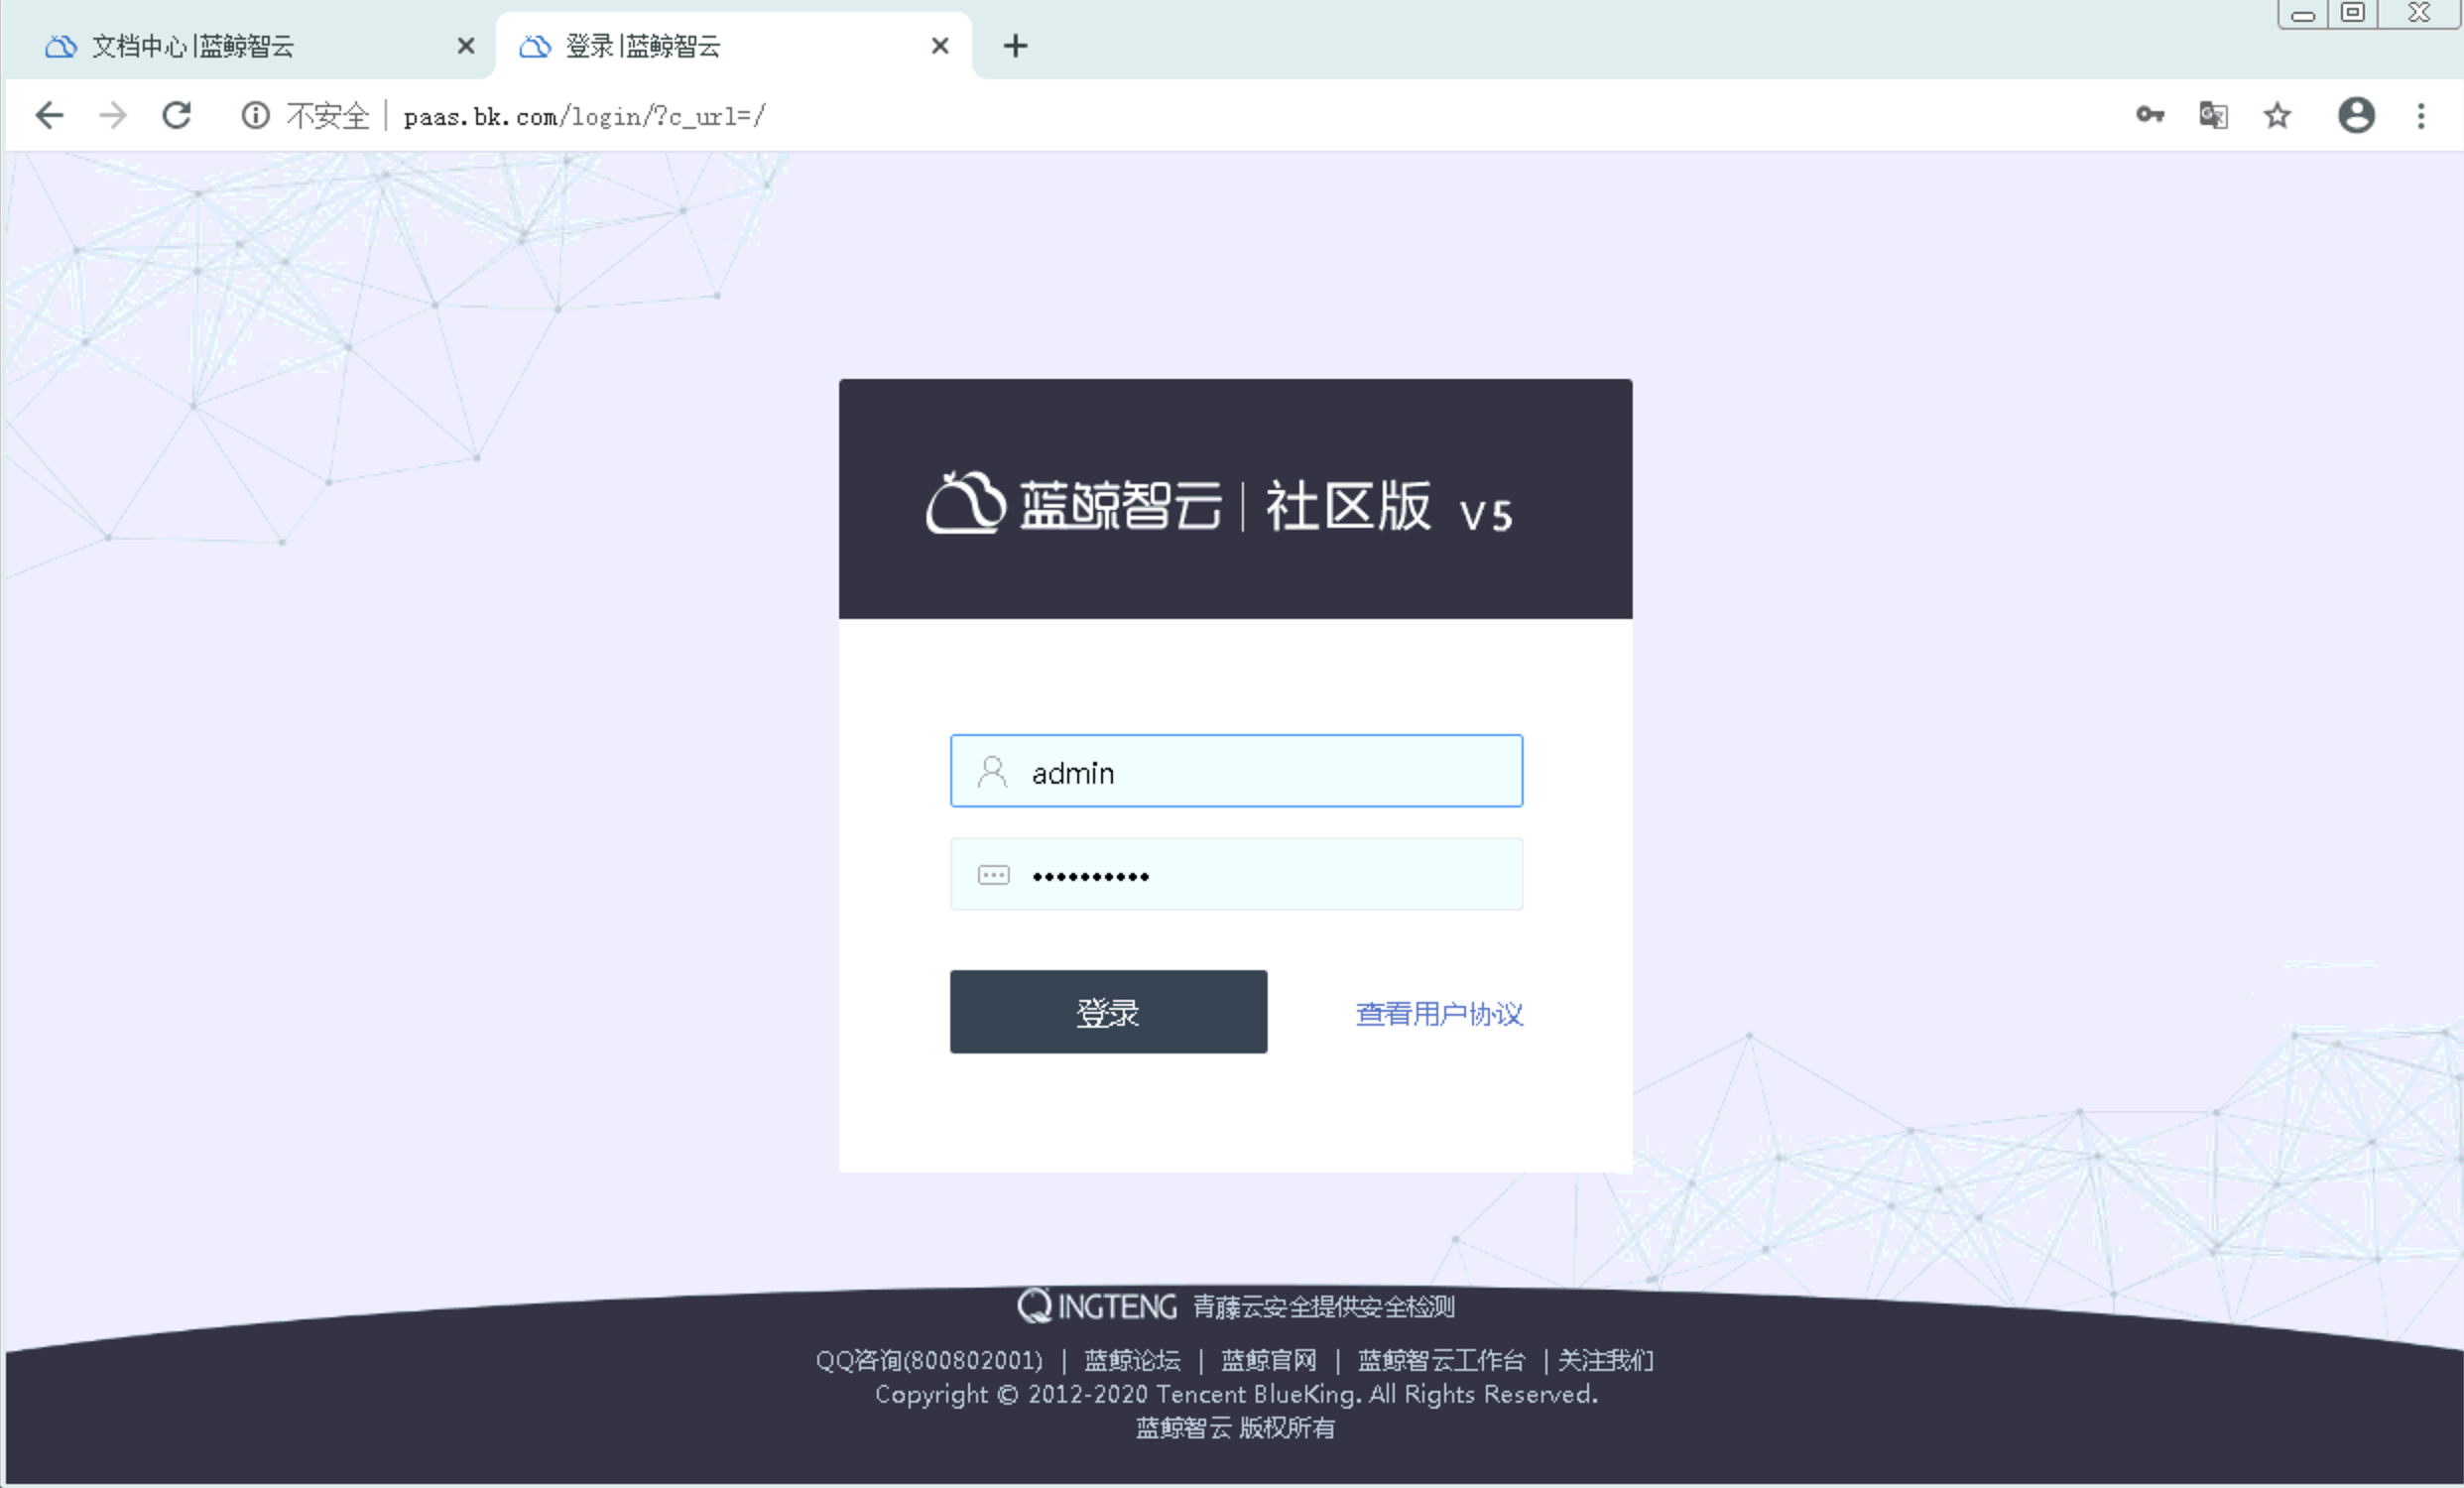
2.4 访问蓝鲸
根据 install/globals.env 里配置的 PaaS 域名(PAAS_FQDN)、账号 (PAAS_ADMIN_USER)、密码(PAAS_ADMIN_PASS)信息,登录访问(若域名没设置 DNS 解析,需配置本机 hosts)。
# vim:ft=sh

shopt -s nullglob
if [ -d $CTRL_DIR/third ]; then
    for f in $CTRL_DIR/third/globals_*.env; do
        source $f
    done
fi

if [ -d $CTRL_DIR/extra ]; then
    for f in $CTRL_DIR/extra/globals_*.env $CTRL_DIR/*/globals.env; do
        source $f
    done
fi
shopt -u nullglob

# 产品信息含义
#   PAAS    集成平台
#   CMDB    配置平台
#   JOB     作业平台
#   GSE     管控平台
#   BKDATA  数据平台

## environment variables

# 域名信息
export BK_DOMAIN="bk.com"            # 蓝鲸根域名(不含主机名)
export PAAS_FQDN="paas.$BK_DOMAIN"       # PAAS 完整域名
export CMDB_FQDN="cmdb.$BK_DOMAIN"       # CMDB 完整域名
export JOB_FQDN="job.$BK_DOMAIN"         # JOB 完整域名
export DOCS_FQDN="docs.$BK_DOMAIN"       # 私有文档准备
export APPO_FQDN="o.$BK_DOMAIN"          # 正式环境完整域名
export APPT_FQDN="t.$BK_DOMAIN"          # 测试环境完整域名

# 设置HTTP/HTTPS模式
export HTTP_SCHEMA='http'

# HAS_DNS_SERVER 选项, 域名解析通过 DNS server 还是通过配置 hosts
# 通过 hosts 配置映射关系时, 一下默认为0, 表示没有自己的 DNS server
#  此时, 会在所有机器上的 /etc/hosts 文件中添加 paas,cmdb,job 等平台的映射关系
export HAS_DNS_SERVER=0

# UPDATE_HOST_NAME 选项,安装蓝鲸过程中是否修改主机名。
#默认为0,表示不修改主机名。非0,则会根据蓝鲸定义的规则修改主机名
export UPDATE_HOST_NAME=0

# DB 信息
export MYSQL_USER="root"                # mysql 用户名
export MYSQL_PASS='0N9LZr3ksu'
export REDIS_PASS='9LbyJHGpqg'
export MONGODB_USER="root"                # mongodb 用户名
export MONGODB_PASS='eVmA_GTjy6FYJh5HbelU'              # mongodb 密码

# 账户信息(建议修改)
export MQ_USER=admin
export MQ_PASS='I38uBPhbNY'
export ZK_USER=bkzk
export ZK_PASS='8RbWwZdXUV'

export PAAS_ADMIN_USER=admin
export PAAS_ADMIN_PASS='el3ZQgIN7r'

export GSE_AGENT_HOME=/usr/local/gse

#  以下windows相关路径中的反斜线,必须是4个!!
export GSE_WIN_AGENT_HOME='C:\\\\gse'
export GSE_WIN_AGENT_DATA_DIR='C:\\\\gse\\\\data'
export GSE_WIN_AGENT_LOG_DIR='C:\\\\gse\\\\logs'

export GSE_AGENT_RUN_DIR=/var/run/gse
export GSE_AGENT_DATA_DIR=/var/lib/gse
export GSE_AGENT_LOG_DIR=/var/log/gse

export BIZ_ID=0

# 若不能直连往外, 请关闭该选项
# 若环境可以直连外网, 以下选项设置为1, 便于自动设置 NGINX 的外网 IP 的监听地址
export AUTO_GET_WANIP=0
export NFS_UID=10086
export NFS_GID=10087

# 默认共享文件系统类型,ceph 或 nfs
export SHARED_STORAGE_TYPE="nfs"

# 若无法自动获取外网 IP, 在需要跨云管理时, 在以下数组中填写 gse, nginx 的外网 ip 地址.
export GSE_WAN_IP=()
export NGINX_WAN_IP=()

# 安装部署 SaaS 应用需要使用到的 pip 源
export PYPI_SOURCE='pypi.douban.com'

export BK_TIMEZONE="Asia/Shanghai"

# 设置访问网络资源如yum源所使用的HTTP代理地址, 如: BK_PROXY=http://192.168.0.1:8833
export BK_PROXY=

# 以下变量值不可以修改.每个企业统一
export IMAGE_NAME='bkbase/python:1.0'
export JAVA_IMAGE_NAME='bkbase/java:1.0'

# 设置app 部署时使用的脚本来源是已src 包下的为准还是以 install/appmgr目录下为准
# 若值为 src 则, 则app 安装的脚本从paas-agent目录下获取, 否则从agent_setup目录下获取
export APPMGR_SOURCE=src

# 设置工程的运行环境, 默认企业环境是prod
export RUN_MODE='prod'

# 在以下数组中填写NTP主服务器的上游时间服务器
#export NTP_SERVER=( 0.cn.pool.ntp.org 1.cn.pool.ntp.org 2.cn.pool.ntp.org 3.cn.pool.ntp.org )
我们看到这个配置文件实际会简单介绍一些自定义的配置,比如如果所在局域网并没有配置DNS服务器,就需要在客户端修改hosts文件,将蓝鲸相关的域名和IP地址对应关系写进去。是否安装过程中会修改主机名之类(不过这个默认设置是0,但实际安装还是发现改了主机名,怀疑可能是个bug但不影响使用)。
另外,实际安装某个组件,最后完成时也会提示如何访问蓝鲸的这个组件。比如下面安装完某个模块组件就会有这样的提示:
# a.安装pass最后的提示:
[192.168.1.6] open_paas paas RUNNING pid 22697, uptime 0:00:36
[192.168.1.6] open_paas appengine RUNNING pid 22701, uptime 0:00:37
[192.168.1.6] open_paas esb RUNNING pid 22700, uptime 0:00:37
[192.168.1.6] open_paas login RUNNING pid 22699, uptime 0:00:38
[192.168.1.6] open_paas apigw RUNNING pid 22702, uptime 0:00:38
如果以上步骤没有报错, 你现在可以通过 http://paas.bk.com:80 访问 paas 平台,
登陆用户名(login user): admin
登陆密码(login password): el3ZQgIN7r
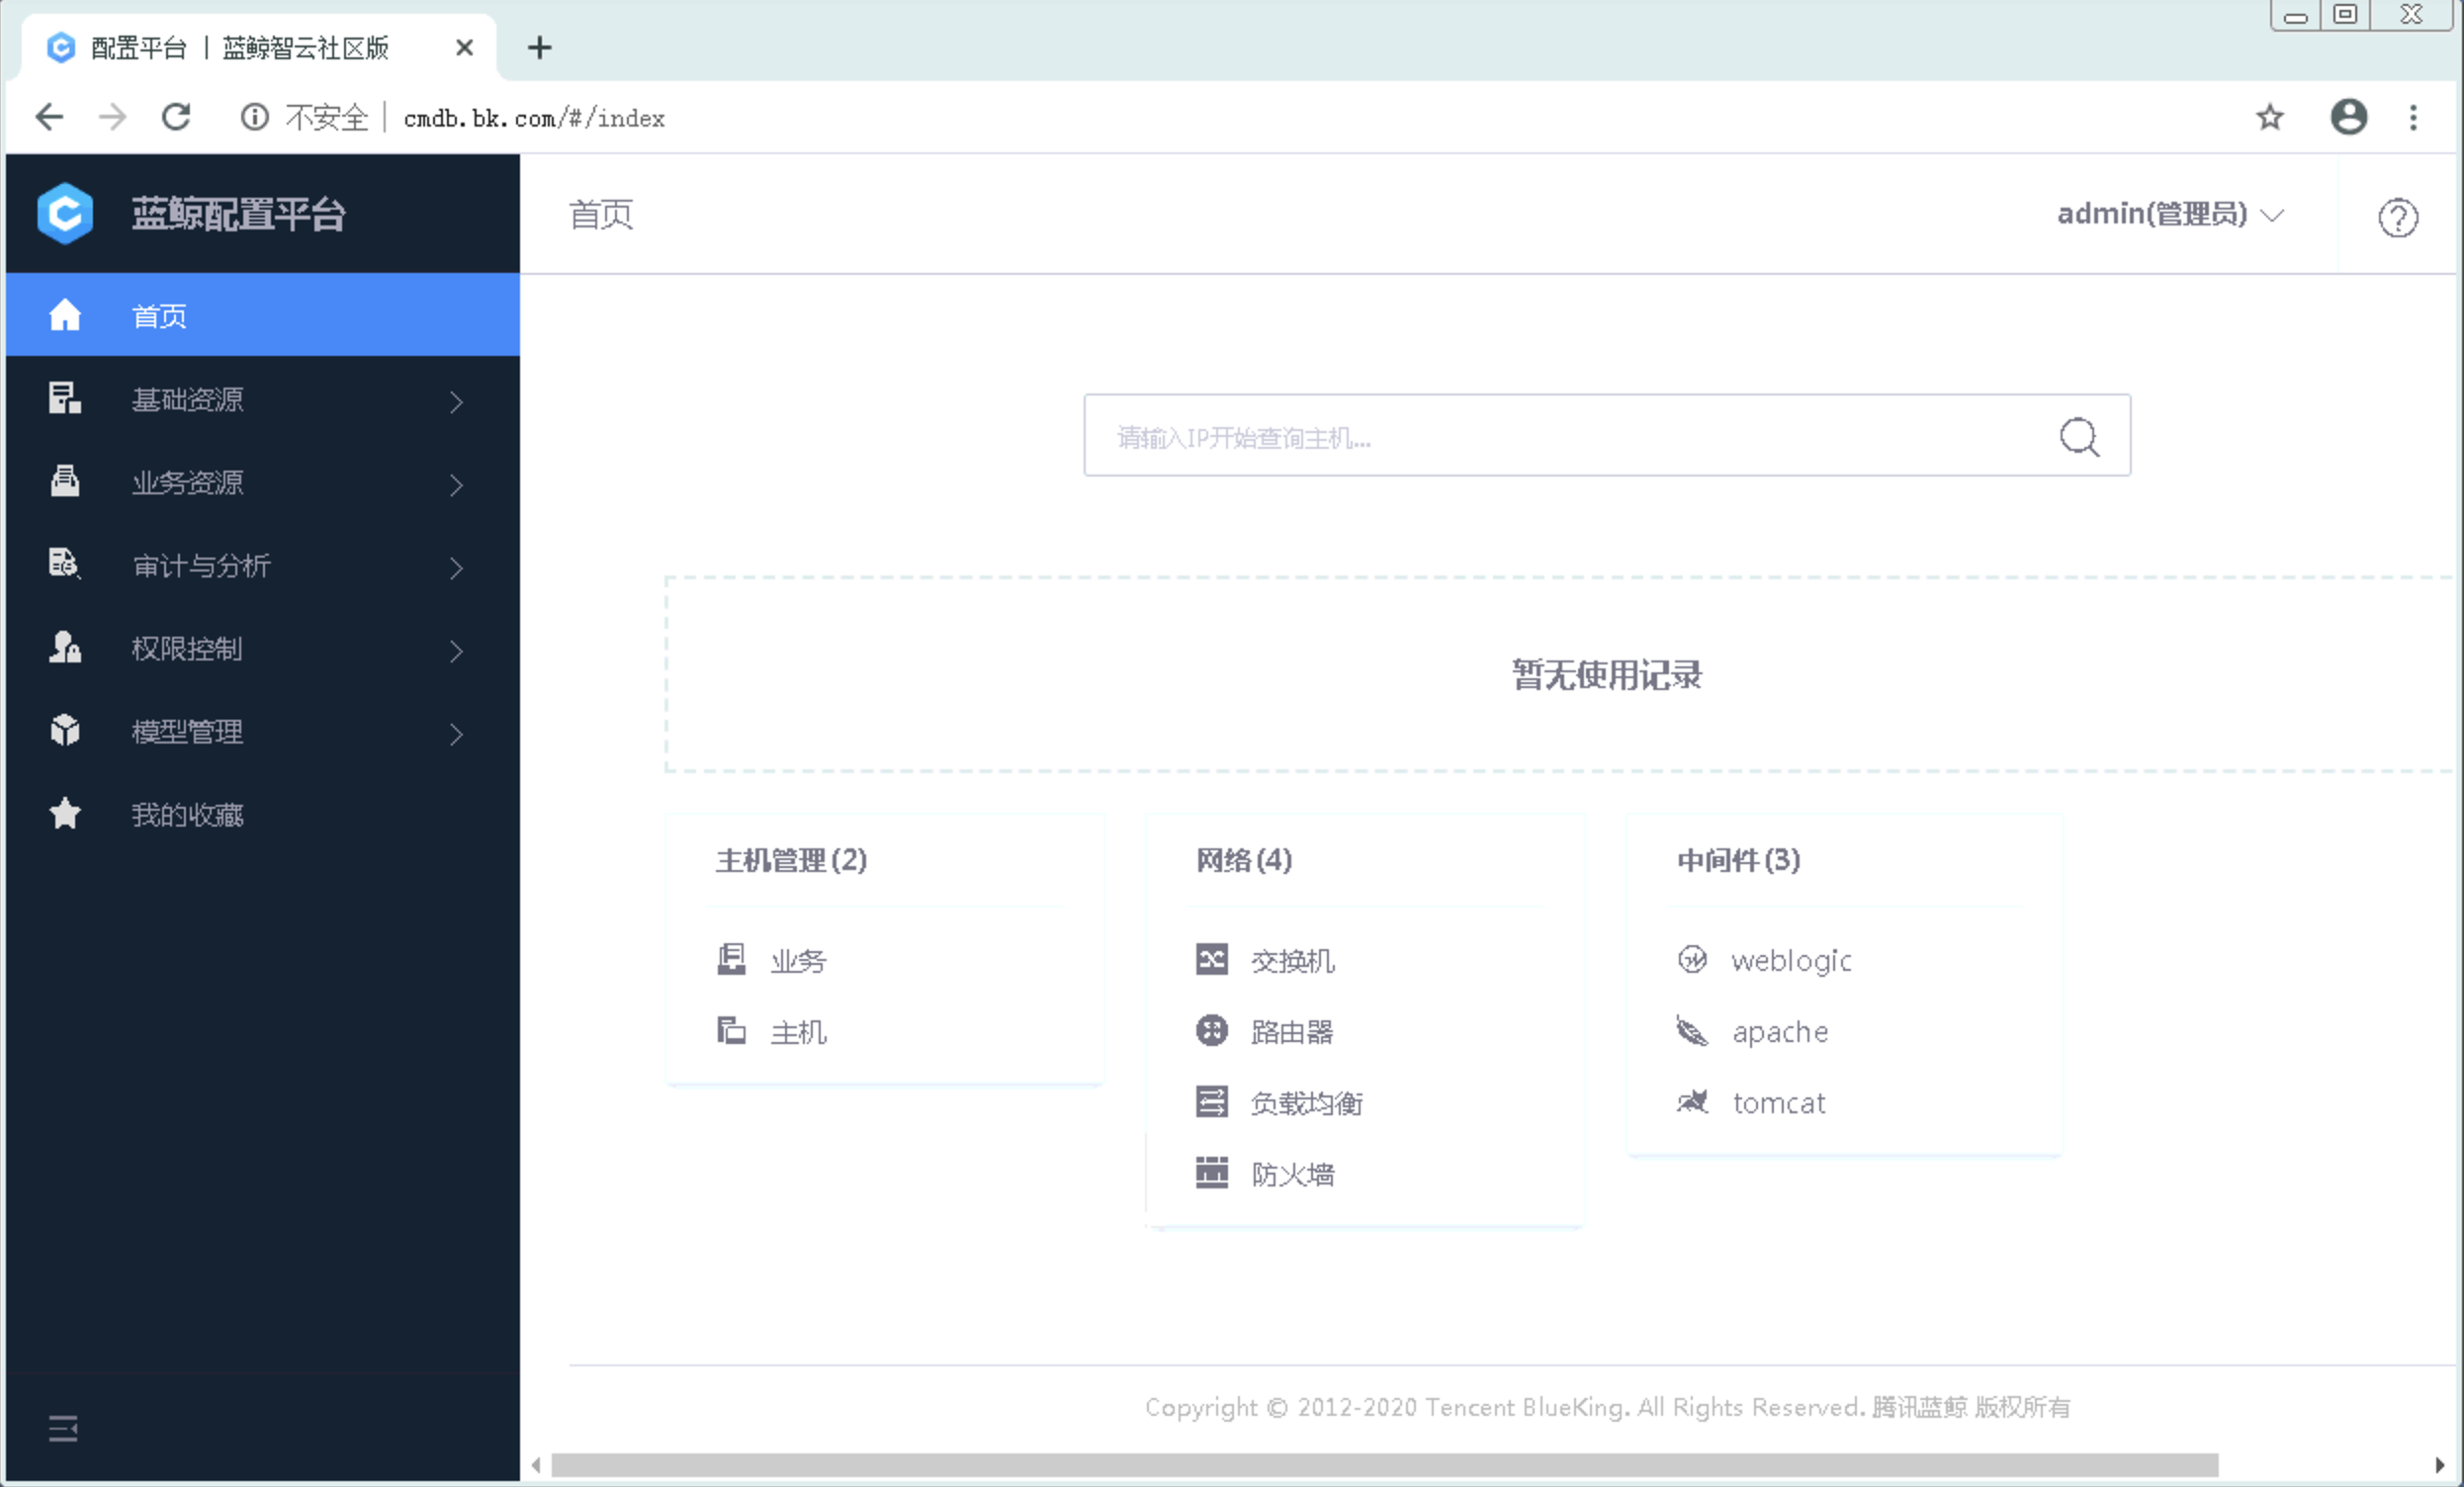
# b.安装cmdb最后的提示:
[192.168.1.6] server cmdb_adminserver RUNNING pid 13712, uptime 0:02:20
[192.168.1.6] server cmdb_apiserver RUNNING pid 13695, uptime 0:02:20
[192.168.1.6] server cmdb_auditcontoller RUNNING pid 13678, uptime 0:02:20
[192.168.1.6] server cmdb_datacollection RUNNING pid 13702, uptime 0:02:20
[192.168.1.6] server cmdb_eventserver RUNNING pid 13696, uptime 0:02:20
[192.168.1.6] server cmdb_hostcontroller RUNNING pid 15789, uptime 0:02:05
[192.168.1.6] server cmdb_hostserver RUNNING pid 13673, uptime 0:02:20
[192.168.1.6] server cmdb_objectcontroller RUNNING pid 15802, uptime 0:02:05
[192.168.1.6] server cmdb_proccontroller RUNNING pid 13713, uptime 0:02:20
[192.168.1.6] server cmdb_procserver RUNNING pid 15788, uptime 0:02:05
[192.168.1.6] server cmdb_toposerver RUNNING pid 13674, uptime 0:02:20
[192.168.1.6] server cmdb_webserver RUNNING pid 13676, uptime 0:02:20
如果以上步骤没有报错, 你现在可以通过 http://cmdb.bk.com:80 访问配置平台, <- 这里给出了访问cmdb组件的方式
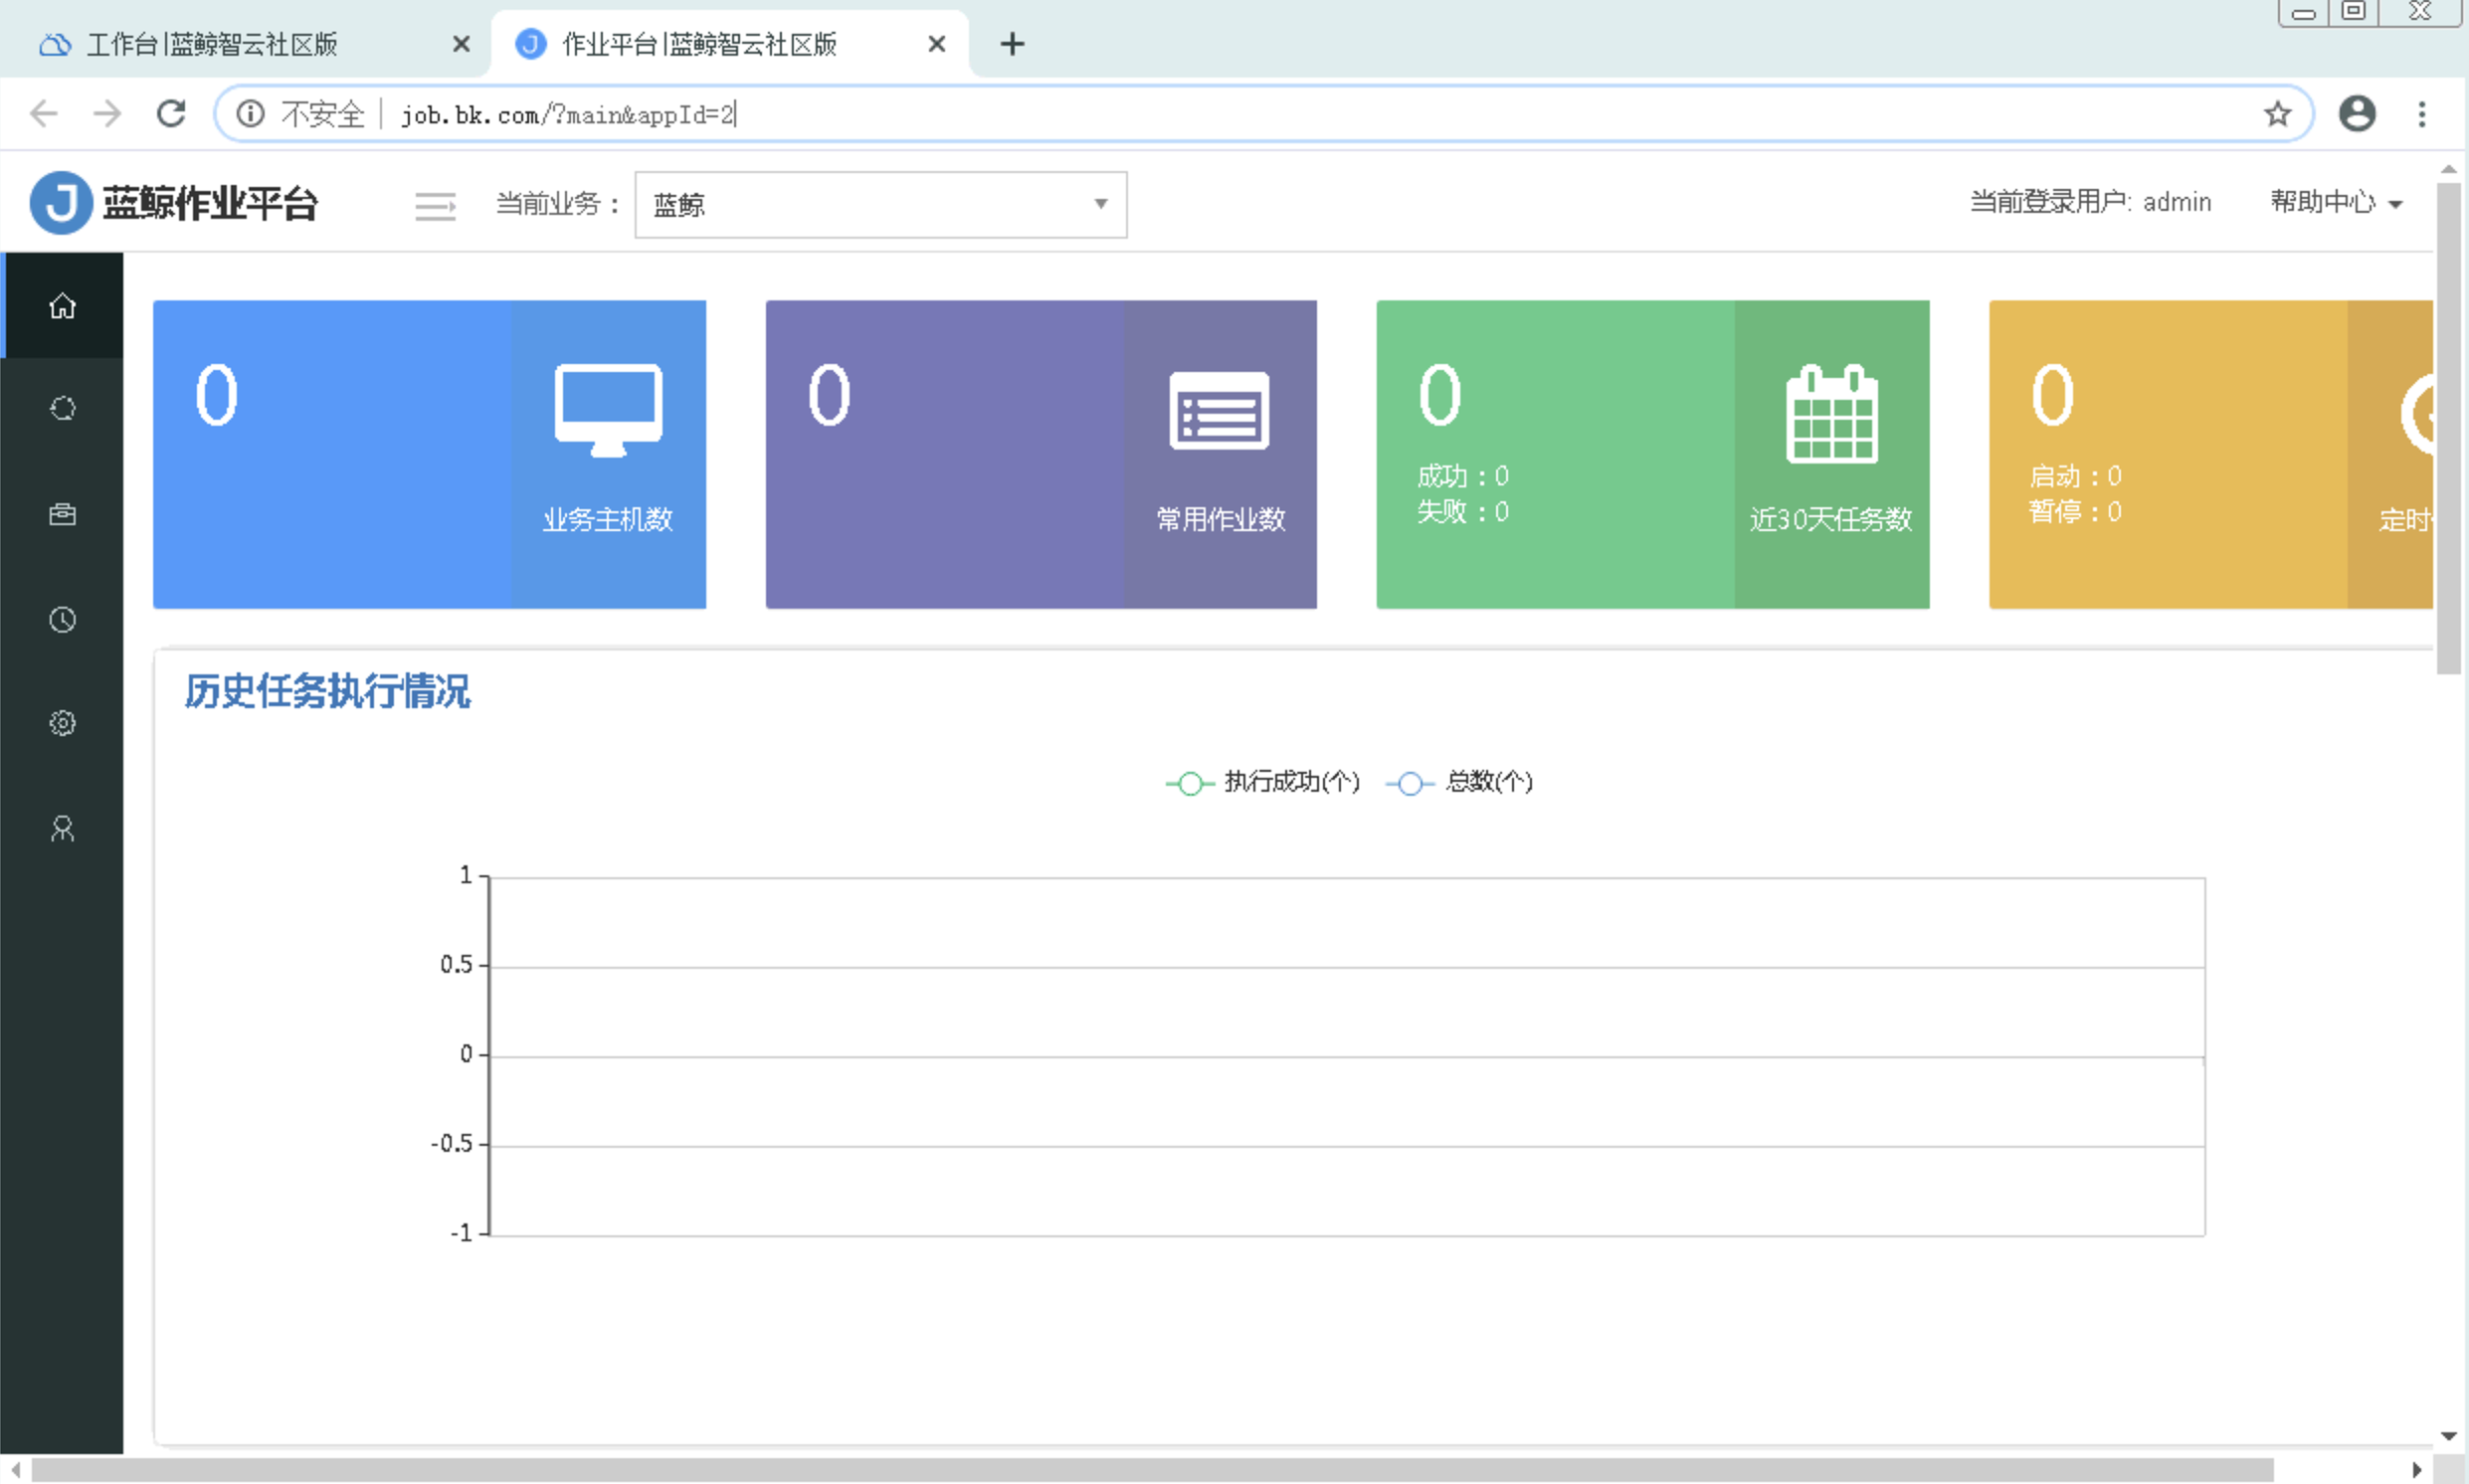
# c.安装job最后的提示:
[192.168.1.6] job: RUNNING
[192.168.1.6]20200226-154845 163 get rabbitmqadmin done.
如果以上步骤没有报错, 你现在可以通过 http://job.bk.com:80 访问作业平台, <- 这里给出了访问job组件的方式
我们安装完可以先看下这些主要web访问界面:
pass:

cmdb:
job:
2.5 卸载
如果不再测试想卸载或是想彻底清理环境重新安装,在每台蓝鲸后台服务器上运行,这里就是单机:
cd /data/install/ && cp uninstall/uninstall.sh .
bash uninstall.sh
2.6 重新安装
如果卸载后需要重新安装,主要就是重新解压软件,导入证书,然后再次执行安装脚本:
tar xf bkce_src-5.1.26.tar.gz -C /data
tar xf ssl_certificates.tar.gz -C /data/src/cert
cd /data/install
./install_minibk -y
3.遇到的问题和解决方案
3.1 安装过程中反复要输入密码
无数次的 Enter passphrase for key ‘/root/.ssh/id_rsa’:
这个实际是本机互信没有配置,可以选择手工配置,也可以选择使用软件中自带的脚本配置:
[root@rbtnode1 ~]# cd /data/install/
[root@rbtnode1 install]# bash configure_ssh_without_pass
Generating public/private rsa key pair.
Created directory '/root/.ssh'.
Your identification has been saved in /root/.ssh/id_rsa.
Your public key has been saved in /root/.ssh/id_rsa.pub.
The key fingerprint is:
SHA256:OQ5Exyc1rVz5FlNhfG7ZhM8BjFUMFcfYPGDCnFzIEUM root@rbtnode1
The key's randomart image is:
+---[RSA 2048]----+
|      ....OEXOO&=|
|     . .o .XB.*=B|
|      .  + o . B*|
|     .   .o   o.*|
|      . S    . . |
|       o .       |
|        .        |
|                 |
|                 |
+----[SHA256]-----+
Warning: Permanently added '192.168.1.6' (ECDSA) to the list of known hosts.
[root@rbtnode1 install]# cd ~/.ssh
[root@rbtnode1 .ssh]# ls
authorized_keys  id_rsa  id_rsa.pub  known_hosts
[root@rbtnode1 .ssh]# ssh 192.168.1.6
Last login: Wed Feb 26 21:55:11 2020 from bkcmdb1
[root@rbtnode1 ~]# exit
logout
Connection to 192.168.1.6 closed.
[root@rbtnode1 .ssh]#
配置完成后即可解决此问题。
3.2 app_mgr组件安装失败
./bk_install app_mgr
Successfully installed meld3-1.0.2 supervisor-3.3.3
[192.168.1.6]20200226-223959 233   generate env variable settings.
[192.168.1.6]20200226-223959 151   exec: pip install --no-cache-dir  -r requirements.txt (/data/bkce/paas_agent/paas_agent)
Collecting Django==1.8.11 (from -r requirements.txt (line 1))
  Retrying (Retry(total=4, connect=None, read=None, redirect=None)) after connection broken by 'NewConnectionError('<pip._vendor.requests.packages.urllib3.connection.HTTPConnection object at 0x7f18dec155d0>: Failed to establish a new connection: [Errno 101] Network is unreachable',)': /pypi/simple/django/
  Retrying (Retry(total=3, connect=None, read=None, redirect=None)) after connection broken by 'NewConnectionError('<pip._vendor.requests.packages.urllib3.connection.HTTPConnection object at 0x7f18dec15c90>: Failed to establish a new connection: [Errno 101] Network is unreachable',)': /pypi/simple/django/
  Retrying (Retry(total=2, connect=None, read=None, redirect=None)) after connection broken by 'NewConnectionError('<pip._vendor.requests.packages.urllib3.connection.HTTPConnection object at 0x7f18dec15e50>: Failed to establish a new connection: [Errno 101] Network is unreachable',)': /pypi/simple/django/
  Retrying (Retry(total=1, connect=None, read=None, redirect=None)) after connection broken by 'NewConnectionError('<pip._vendor.requests.packages.urllib3.connection.HTTPConnection object at 0x7f18debc2050>: Failed to establish a new connection: [Errno 101] Network is unreachable',)': /pypi/simple/django/
  Retrying (Retry(total=0, connect=None, read=None, redirect=None)) after connection broken by 'NewConnectionError('<pip._vendor.requests.packages.urllib3.connection.HTTPConnection object at 0x7f18debc2210>: Failed to establish a new connection: [Errno 101] Network is unreachable',)': /pypi/simple/django/
  Could not find a version that satisfies the requirement Django==1.8.11 (from -r requirements.txt (line 1)) (from versions: )
No matching distribution found for Django==1.8.11 (from -r requirements.txt (line 1))
[192.168.1.6]20200226-224014 177   pip install (--no-cache-dir ) for paas_agent.  FAILED
[192.168.1.6]20200226-224014 47   Abort
从报错来看是因为机器无法联网报错,后续需要进一步分析看是否有其他离线方式的解决方案。
3.3 bkdata组件安装失败
./bk_install bkdata
    copying MySQLdb/constants/CLIENT.py -> build/lib.linux-x86_64-2.7/MySQLdb/constants
    running build_ext
    building '_mysql' extension
    creating build/temp.linux-x86_64-2.7
    gcc -pthread -fno-strict-aliasing -g -O2 -DNDEBUG -g -fwrapv -O3 -Wall -Wstrict-prototypes -fPIC -Dversion_info=(1,2,5,'final',1) -D__version__=1.2.5 -I/usr/include/mysql -I/opt/py27/include/python2.7 -c _mysql.c -o build/temp.linux-x86_64-2.7/_mysql.o
    gcc -pthread -shared build/temp.linux-x86_64-2.7/_mysql.o -L/usr/lib -lmysqlclient -lpthread -lm -lrt -ldl -o build/lib.linux-x86_64-2.7/_mysql.so
    /usr/bin/ld: cannot find -lmysqlclient
    collect2: error: ld returned 1 exit status
    error: command 'gcc' failed with exit status 1

    ----------------------------------------
Command "/data/bkce/.envs/bkdata-dataapi/bin/python -u -c "import setuptools, tokenize;__file__='/tmp/pip-build-X8uj9z/MySQL-python/setup.py';f=getattr(tokenize, 'open', open)(__file__);code=f.read().replace('\r\n', '\n');f.close();exec(compile(code, __file__, 'exec'))" install --record /tmp/pip-f0aghb-record/install-record.txt --single-version-externally-managed --compile --install-headers /data/bkce/.envs/bkdata-dataapi/include/site/python2.7/MySQL-python" failed with error code 1 in /tmp/pip-build-X8uj9z/MySQL-python/
[192.168.1.6]20200226-231616 177   pip install (--no-cache-dir --no-index --find-links=/data/src/bkdata/support-files/pkgs) for bkdata-dataapi.  FAILED
[192.168.1.6]20200226-231616 47   Abort
3.4 saas-o组件安装失败
./bk_install saas-o
2020-02-26 23:17:42 113  INFO     resposne: {u'message': u"\u5f53\u524d\u6ca1\u6709\u53ef\u7528\u7684[\u6b63\u5f0f\u670d\u52a1\u5668], \u65e0\u6cd5\u8fdb\u884c\u5e94\u7528\u90e8\u7f72\u64cd\u4f5c. \u8bf7\u5230<a href='/engine/server/'> [\u84dd\u9cb8\u667a\u4e91-\u5f00\u53d1\u8005\u4e2d\u5fc3-\u670d\u52a1\u5668\u4fe1\u606f] </a>\u6ce8\u518c\u5e76\u6fc0\u6d3b\u670d\u52a1\u5668", u'result': False}
Traceback (most recent call last):
  File "deck/saas.py", line 236, in <module>
    event_id, app_code = appmgr.deploy(deploy_url, saas_env[args.deploy_env])
  File "deck/saas.py", line 116, in deploy
    logg.info(u"{}".format(deploy_result["msg"]))
KeyError: 'msg'
[192.168.1.6]20200226-231742 153   Deploy saas bk_fta_solutions failed.
[192.168.1.6]20200226-231742 47   Abort
上面3个组件安装失败,先记录下关键日志,等后续有时间会再进一步分析根本原因和解决方案,如果大家有这方面的经验,也欢迎留言交流心得。
目前paas、cmdb、job等基本组件均正常,可以先进行蓝鲸基本的功能测试了。
